Banner Image

updates, news, features, & milestones
1.) First off please download the plugin here: Plugin
2.) Please visit the setup instruction page: Setting up the plugin
These are short and concise answers to some frequently asked questions.
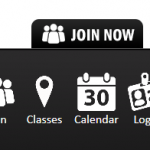
1.) This is a hover widget and it hides in the right hand corner of your site. It hovers only when a user hovers their mouse over it:
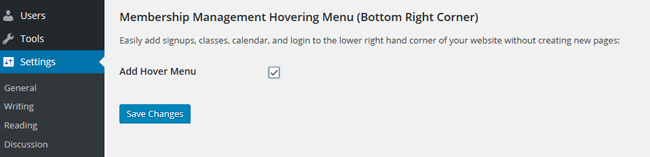
2.) To turn it on. Log into your wordpress dashbaord -> Settings -> “Membership Management” -> Click on the checkbox “Add Hover Menu” and save:
3.) Hover widget is turned on and you can see it on your site.
1.) Inviting new members. This helps you import all your current and prospective members into your system.
Requirement:
a) ***Please make sure that you have created some memberships or class memberships for them to complete their sign up before inviting them.
b.) Stripe merchant payment setup if offering non-free memeberships.
c.) Embed the “Login” embed code into your site (for invited members to log into).
2.) GO to “Invite”:
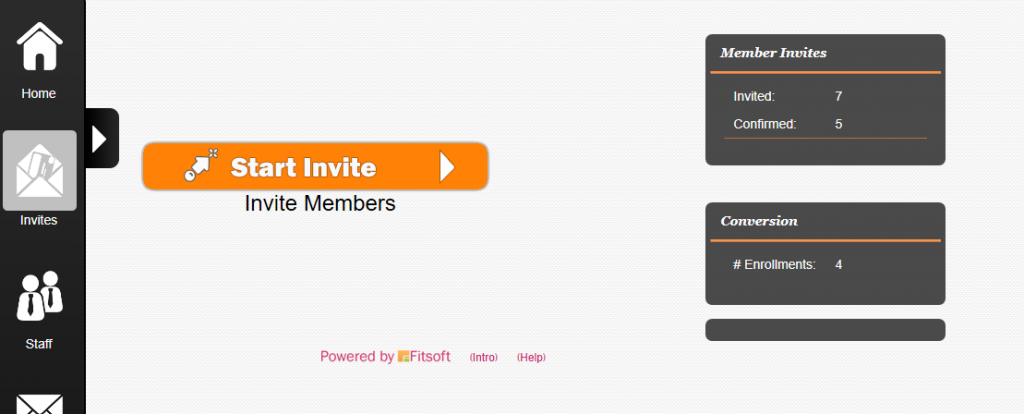
3.) Click on the “Invite” Button.
4.) Enter in your email address and “Add email address”:
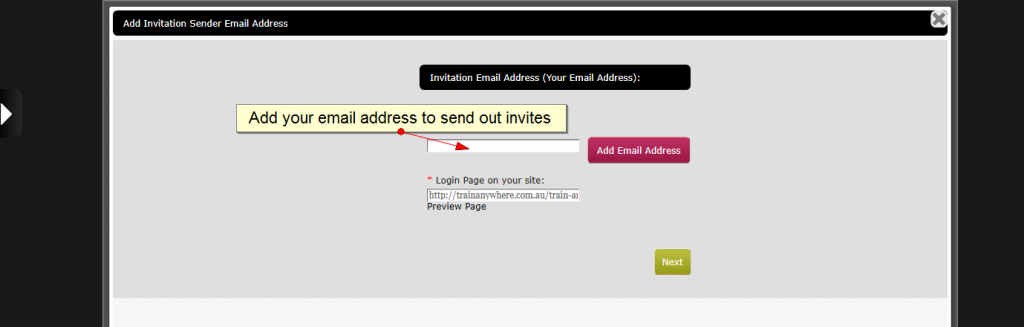
* Use an email to let your user know that it is from you.
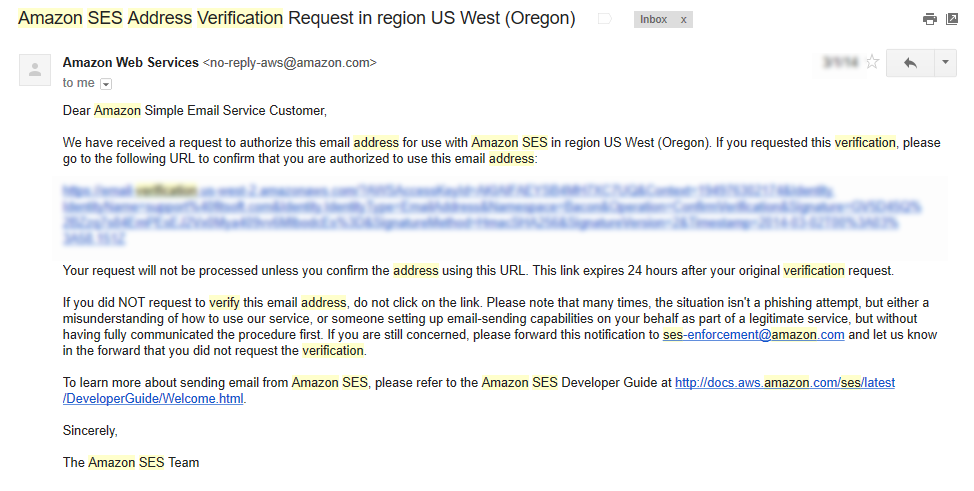
Please go to your email inbox and you will receive an email like this from “Amazon SES Address Verification.” All you have to do is click on the link inside.
5.) Make sure that you have already embed the Login code on your site:
You can find more information on how to do this on WordPress: Add in login’s member area
On other systems: Embedding your code
Once your Login embed code is embedded, the system will know where to send your invited members to.
6.) Go to the next step:
There are two options for you to use to import your users. One is excel and the other one is your addressboook. Select either one of theses and go to the next step.
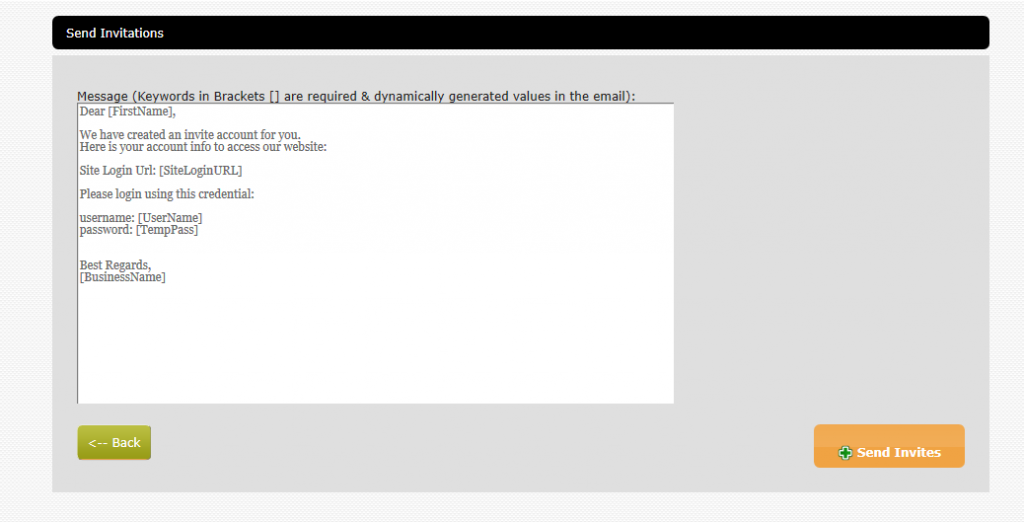
7.) Here is the content of your email. The system will automatically parse your content of your email according to each contact’s information. Those shortkeys in brackets will be parsed accordingly. You may change the other text of the email but please include the brackets:
8.) Press “Send Invites.” Your email invitation is completed.
Yes, you can find more about membership and class checkout feature here: Setting up a checkout area.
You need to add a login area to your wordpress site. Please check it here: Login & Member’s Area .
Yes, you can find how to do this here: Adding member’s area
Yes, you can find the information here: Class schedule setup
Yes, you can find more information here: Class Calendar Setup
To start off you can find a wizard for that here: Adding a New Membership.
Yes, you can find more info on how to do that here: Changing the Plugin Default Text.
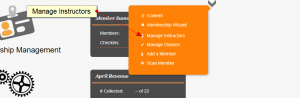
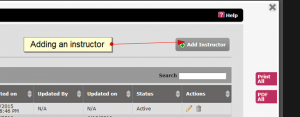
Adding an instructor (Go up ↑) :
You can find more information on how to delete an instructor here: Deleting an Instructor.
You can add in a new member from your membership management page. More information can be found here: Adding a new member.
You can change the currency:
-> Click on the more option arrow
-> Click on “Content”
-> Change the site’s currency at the Currency field.
-> Click on the “Continue” Button
*Please note that you may have a Stripe account in a separate country and processing payments in a different country with a different currency (Conversion rates applies. Please check with Stripe website).
If you are looking for step by step information on localizing your site you can go here: Localize Settings
* If you want us to add in more currency please let us know by emailing support@fitsoft.com .
You can change the default country:
-> Click on “Settings”
-> Go to business information
-> Select and change “Country”.
If you are looking for step by step information on localizing your site you can go here: Localize Settings
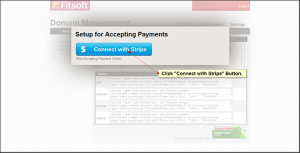
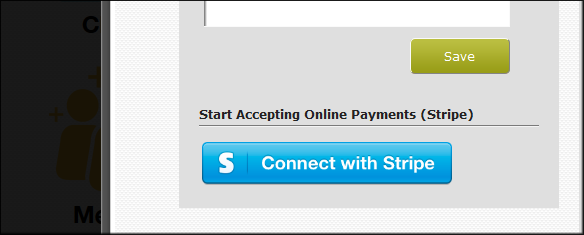
1.) You can set it up when you create your account
or
2.) In your “Membership Management” page -> In “Settings” -> Click on “Connect with Stripe” button
There are no fees for personal sites since no transactions are taking place.
Commercial and business account do not get charge a service fee from Fitsoft. The only fee is from Stripe. We only charge your customer a small convenience fee of 2% to $0.99.
No there is no service fee on free memberships.
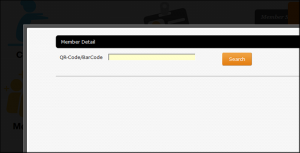
Each member that signs up gets a QR barcode. They can print it out from their member’s area.
1.) Equipment: The barcode can be scanned using a scanner supporting QR barcode and wedging it to your Mac or PC for USB keyboard emulation (Setup can be found in your barcode scanner manual).
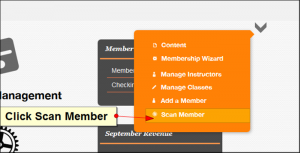
2.) Go to the “Member Management” plugin page and click on the more features area -> Click on “Scan Member” link.
You can change the default country:
-> Click on “Settings”
-> Go to business information
-> Select and change “Country”.
If you are looking for step by step information on localizing your site you can go here: Localize Settings
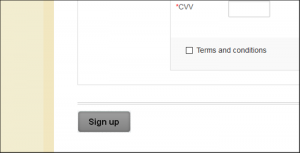
1.) Click on Settings:
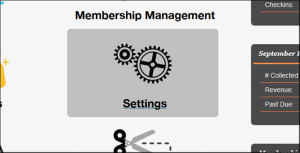
2.) Go to the Terms on the Settings area:
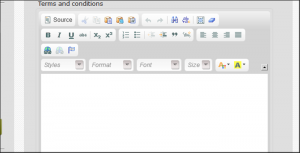
3.) Click on “Save” button
4.) Now go to where you have created the signup page. You can find your Terms and Condition here:
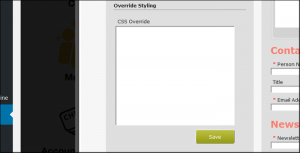
1.) The calendar, schedule of classes, and all of the member’s area can read the css created from the Settings -> CSS override area . If general override styling of an element does not work then you have to give the element a more specific selector.
2.) To get the the css override -> Go the the “Membership Management” Page -> click on “Settings” -> Go to “CSS Override” textbox and plug in your CSS.
Sometime you might need the direct url that auto-select the membership on the signup page. This is great for promoting a particular membership on another page or site and then directing your member to enrollment page. You can find more information on how to do this here: Instruction How to retrieve Membership Url
1.) Promocodes are a part of marketing. Once we have a number of subscribers or emails we can create a promo-newsletter blast promoting our promocodes.
2.) Click on Marketing:

3.) Click on “Promocode”:

* Promocodes are straight-forward. You can set the start and end dates for end promocodes. There are also different types of promocodes such as sales, percentage discount, monetary discount, and applying a discount to a particular membership. If you want to limit the usage of a promocode then enter in the number of usage (0 for unlimited).
*Also see creating a newsletter.
1.) Inviting new members. This helps you import all your current and prospective members into your system.
Requirement:
a) ***Please make sure that you have created some memberships or class memberships for them to complete their sign up before inviting them.
b.) Stripe merchant payment setup if offering non-free memeberships.
c.) Embed the “Login” embed code into your site (for invited members to log into).
2.) GO to “Invite”:
3.) Click on the “Invite” Button.
4.) Enter in your email address and “Add email address”:
* Use an email to let your user know that it is from you.
Please go to your email inbox and you will receive an email like this from “Amazon SES Address Verification.” All you have to do is click on the link inside.
5.) Make sure that you have already embed the Login code on your site:
You can find more information on how to do this on WordPress: Add in login’s member area
On other systems: Embedding your code
Once your Login embed code is embedded, the system will know where to send your invited members to.
6.) Go to the next step:
There are two options for you to use to import your users. One is excel and the other one is your addressboook. Select either one of theses and go to the next step.
7.) Here is the content of your email. The system will automatically parse your content of your email according to each contact’s information. Those shortkeys in brackets will be parsed accordingly. You may change the other text of the email but please include the brackets:
8.) Press “Send Invites.” Your email invitation is completed.
1.) Click on Marketing:
* If you see the locked on the marketing page. You need to first add some members and setup your email address to be able to send out newsletter. We do this by inviting a few people to become members on your site. To do this click on the top-right hand corner link “Invite Member First”:
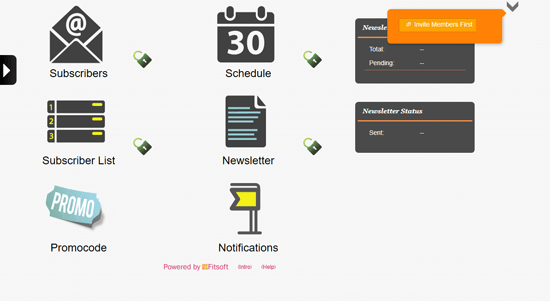
* After you have finished this step. There will be a number of members you can start blasting a newsletter to.
2.) If there are members in your system all of the lock features will be unlocked. Proceed by going back into the Marketing area and click on the top-right hand corner link which is now “Create Newsletter”:
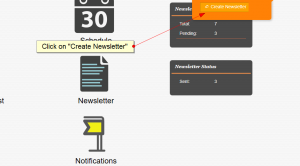
*Go through the step-by-step wizard in creating your newsletter. Once you are done you can schedule it to an appropriate date.
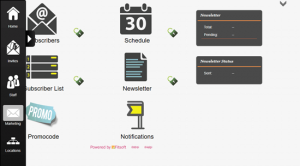
3.) Other Functions :
– Subscribers : Add new subscribers and manage subscribers & contacts
– Subscriber List: Edit, Add, Delete Subscriber List
– Schedule: Calendar View of the Blast Dates.
– Newsletter: List of newsletter that you have created.
1.) Click on “Memberships” icon in your dashboard home:
2.) Click on the chain icon on the action bar for a membership you want location assignment:
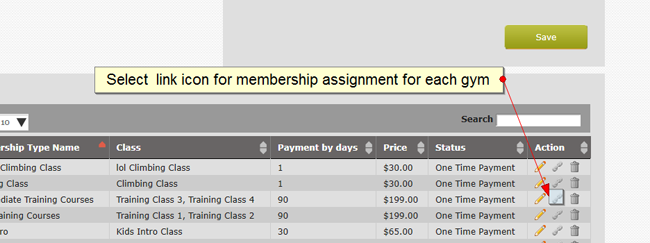
3.) A location listing will display with checkboxes. Select the location you want to assign the membership to:
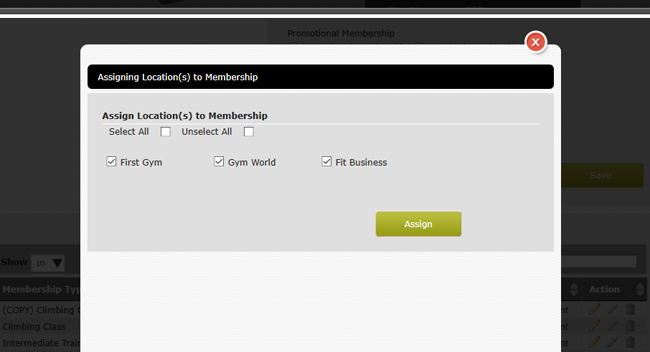
4.) Click Assign.
*Now you can preview your schedule of classes to find that you can filter your classes by its designated location.
1.) Click on Staff:
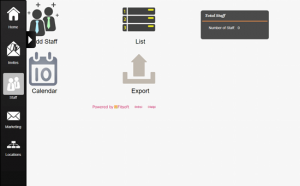
2.) Click on “Add Staff”. Fill in staff information.
1.) Click on Locations:

2.) Click on “Add Location”:

3.) Fill out the Business Information
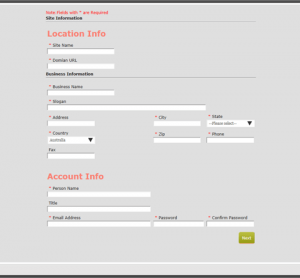
4.) Note the Credential for the new location created.
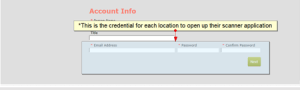
* This is used as an option for each location to install the scanner app to check in members. They will be using this credential to log in. We are currently deploying the enduser app so it is possible for user to checkin from their phone instead.
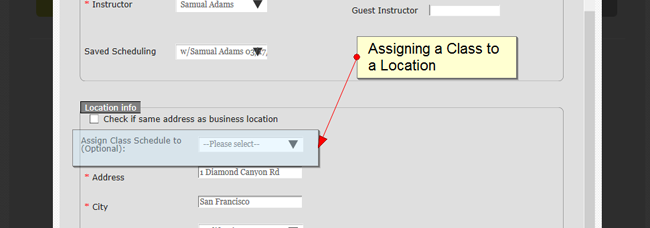
The system is very flexible when it comes to class scheduling. Schedule it once and reuse the previous entries to create new schedules. You can create several different schedules for a class under different instructors and even locations(multi-location enabled solution):
Getting Started with Class Scheduling.
We have created an iPhone and Droid app for member to check in. Instuction on how to use it here:
Mobile Scanning for Android and iPhone.
Here is the instruction to retrieve your gym qrcode:
My Gym QRCode.