Assigning Location to a Schedule
Starter: Class Schedule’s 3-step wizard (Go up ↑) :
- This will add in a new class, a new instructor, and a schedule for this new class and instructor.
- A.) Go to the Classes area of the dashboard and click on it:
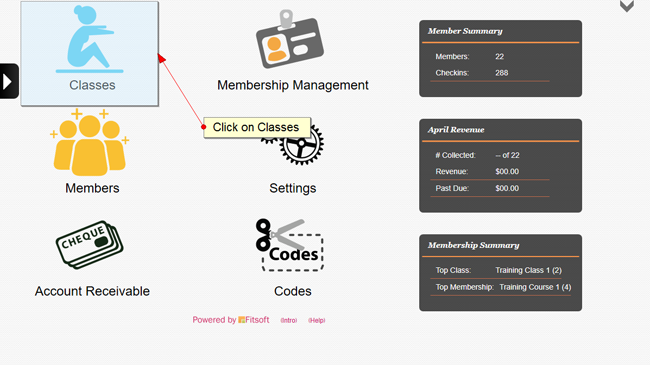
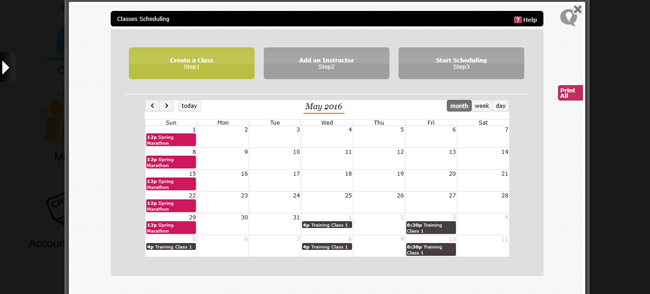
- B.) Click on “Create a Class”:
- C.) Go through the steps of creating your class, instructor, and schedule
- *Note that you have created a new class type by going through this process. You have also created the instructor. You do not need to add this class & instructor again when creating a new schedule.
Editing a class schedule (Go up ↑) :
- A.) Click on a class schedule on the calendar (they are color coded).
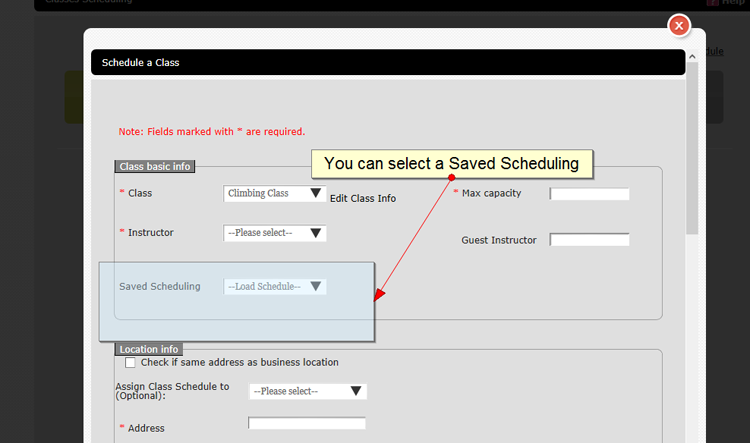
- B.) The scheduling form should open up:
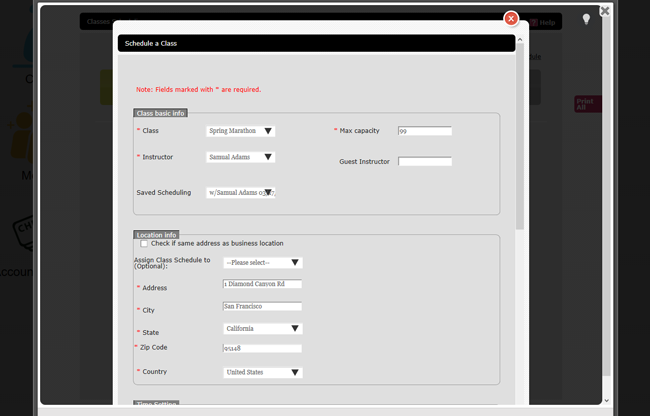
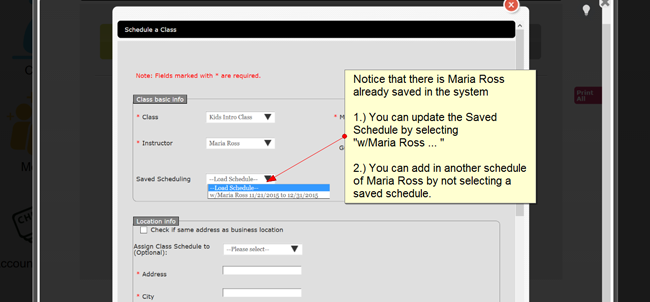
- C.) When updating your class schedule the “Saved Scheduling” area (below the instructor selection) will auto-select the correct schedule you are updating.
Duplicating a Class Schedule (Go up ↑) :
- This creates a copy of the schedule with the same instructor and saves time inputting a similiar class schedule.
- A.) To start the duplication click on a class schedule on the calendar:
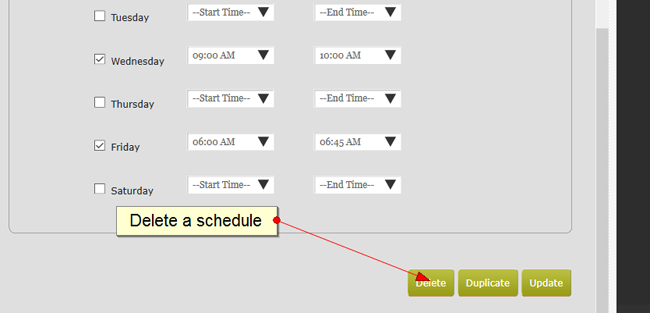
- B.) Scroll down the form and find the button “Duplicate”:
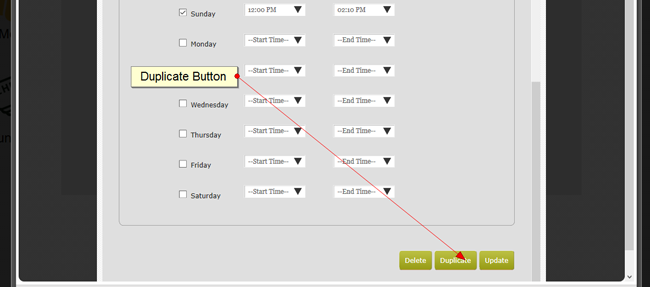
- C.) After clicking on the button, a duplicated schedule is created. We can also make adjustments to start and end at a later date for this duplicated schedule . All saved schedule can be located in the “Saved Scheduling” area.
Deleting a class schedule (Go up ↑) :
- Using the calendar to delete a schedule:
- A.) Go to the calendar and select on a schedule (they are color coded on the calendar).
- B.) The scheduling form will appear. Scroll down to find a “Delete” button.
- c.) Click on the delete button.
Using the scheduling form to delete a schedule (Go up ↑) :
- A.) In the dashboard click on Classes:
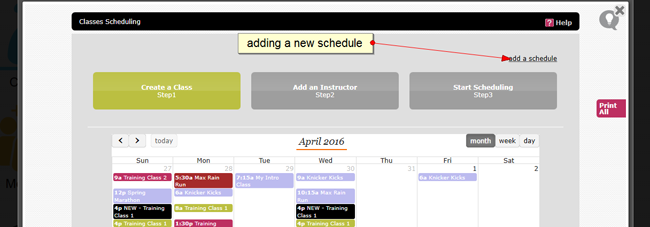
- B.) Locate the link “add a schedule” and click on it:
- C.) The scheduling form will open. Since we are not adding in a new schedule we select the Class Type and Instructor. If there are any saved schedule then we can find it in the dropdown:
- After the saved schedule is selected. Scroll down and click on delete:
- This deletes the schedule. Class and instructor are not deleted.
Adding a new class schedule using the schedule form (Go up ↑) :
- There are some scenario when you want to add in a new class schedule for a particular class and instructor. As long as you are in the scheduling form you can do this:
- A.) Locate the link “add a schedule” and click on it:
- B.) The scheduling form will open. Select your class and instructor.
- C.) Do not select any “Saved Scheduling” located below the instructor selection:
- D.) Then proceed to fill out the scheduling form for this class and instructor. Click Save.
Adding an instructor (Go up ↑) :
- Instructors can be added to the system without going through the class schedule’s 3-step wizard.
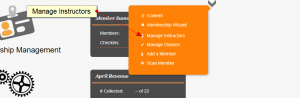
- A.) Go to down arrow at the right-hand corner of the dashboard and click on “Manage Instructors”:
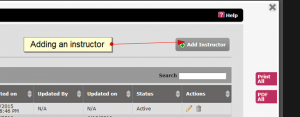
- B.) Then Click on the link “Add Instructor”:
- C.) Continue to add in the Instructor Information. Once you have added an instructor you can exit the wizard.
Assigning a location to a schedule (Go up ↑) :
- This is only for solutions that has the multi-location enabled.
- A.) Go into your dashboard and click on the “Classes” icon.
- B.) You can select one of the schedules on the calendar to update or click on “add a schedule” to add.
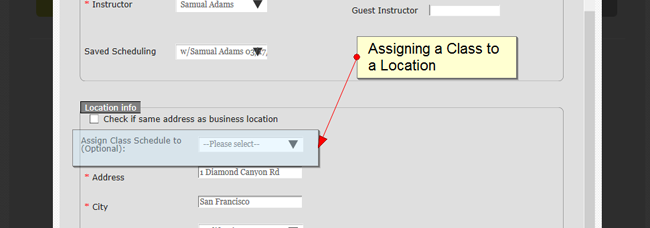
- C.) In the class scheduling form you will see a drop-down inside the “Location Info” area. This drop-down is called “Assign Class Schedule To”:
- D.) Proceed to fill out the scheduling form and save or update it.
Get more info

 Working with class schedules?