
Understanding the Marketing System
Marketing System
The marketing system allows administrator a quick tool to communicate with their member-base by setting up newsletters and weekly email reminders & marketing. This toolset has features such as adding subscribers, adding current member’s into a subscriber’s list, creating weekly marketing campaign.
First you need to set your sender’s email address through the back-end system:
A.) Setting up my Sender’s email address:
Sender’s email address is the email that will be doing the sending for all messages on your system.
1.) Log into the backend system. Click on “Settings” -> “Main Settings” :

2.) Cick on the “Notification” tab:

3.) Scroll down until you see “Email Setting” and then add in your email sender email address. Click “Add Emaill Address”. A verification process will begin to confirm that this is your email address.:

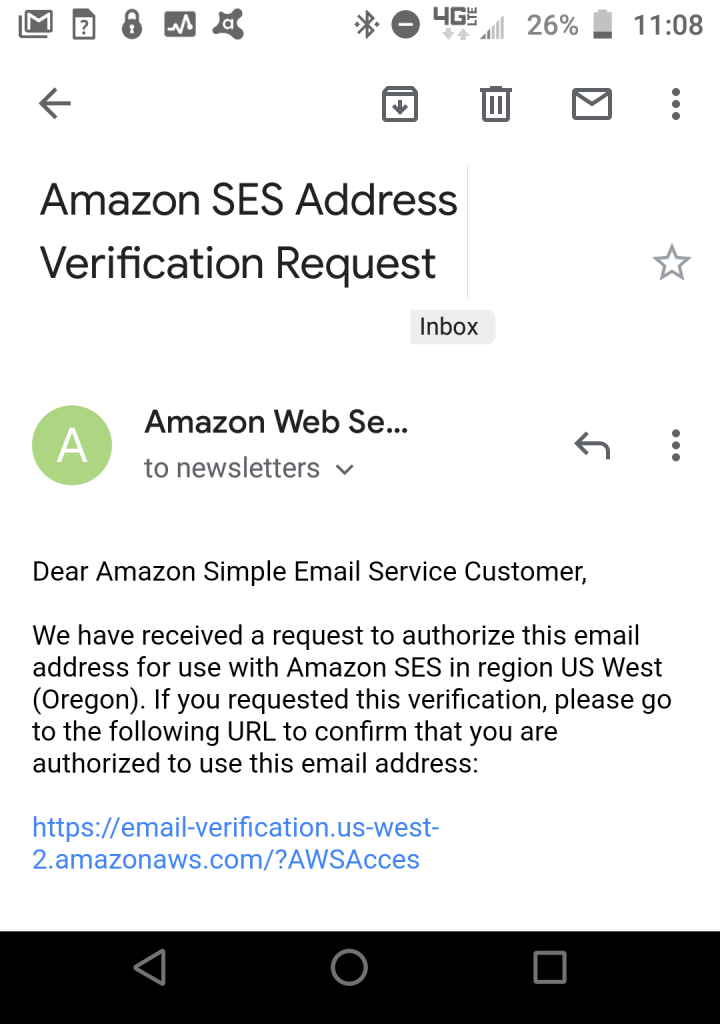
4.) An email is sent to your inbox and you need to click on the link below to confirm your sender’s email address:
5.) Once confirmation is finished, you will see that your email is “Email Verified”:

Now you are ready to start using the Marketing tool.
B.) Managing Subscribers:
1.) Log into your backend system and navigate to “Marketing” -> “Manage Subscribers”:

2.) This is your subscriber’s page. It lists your subscribers for you to blast email campaign to:

3.) Here are some helpful tutorial links below:
- Adding a Subscriber: Add a subscriber
- Importing Subscribers: Import Subscibers
- Creating subscribers from my members : Importing Members As Subscribers
- Grouping my subscribers into a list: Add a Subscriber’s List
- Managing my subscriber’s list: Manage Subscriber’s List
- Attaching my subscriber’s list to a notification: into a class: Assigning Subscribers to a Notification
- Creating a newsletter: Creating a Newsletter
- Adding word document to a newsletter: Creating a Newsletter using MS Words Docx
- Coming SOON! Adding my attachments to my newsletter: Adding Newsletter Attachments
- Coming SOON! Password protected attachments: Creating Password-Protected Attachments
B.) Newsletter Scheduling
1.) After getting familiar with adding subscribers and creating a list for subscribers. We can start scheduling newsletters to be sent out:
Go to “Marketing” -> “Newsletter”:

2.) This is your newsletter page. You can manage your newsletter here:

3.) Click on the scheduling button to schedule this newsletter:

4.) Set the scheduling to the time you want to blast this newsletter along with assigning “Subscribers List”:

4.) If you want to see all your Newsletter’s scheduling go to “Marketing” – > “Newsletter Schedule Calendar” :
5.) Here is a calendar and it displays the month’s schedules for your newsletter:

6.) Click on it to edit the scheduling:

*If you have any questions on technical questions you can contact support at customersuccess@fitsoft.com