GagaClass Settings – Class Schedules
1.) Go to your Dashboard and click on “Class Schedule”:
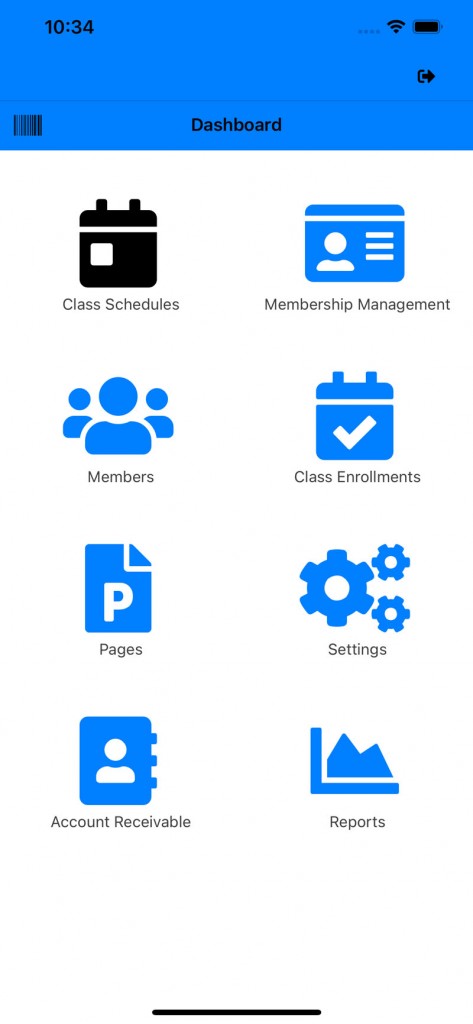
A.) Adding a class:
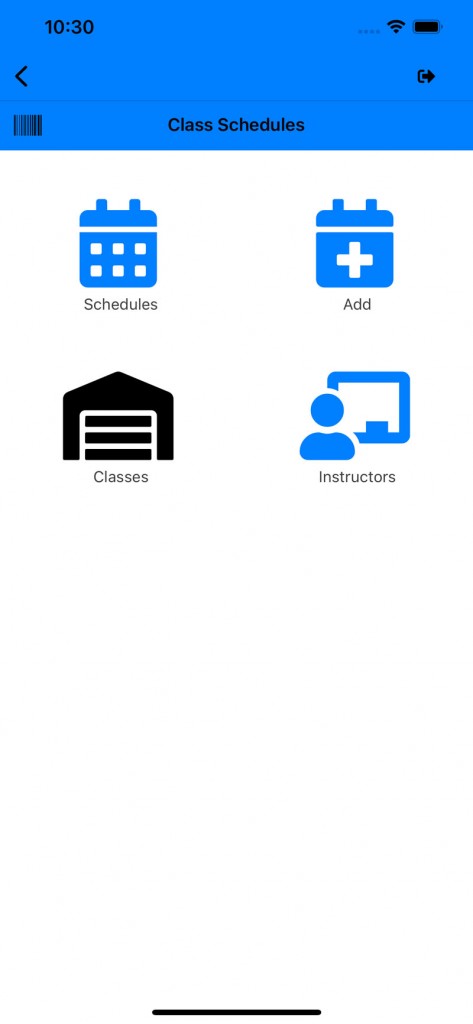
2.) Click on the “Classes” icon:
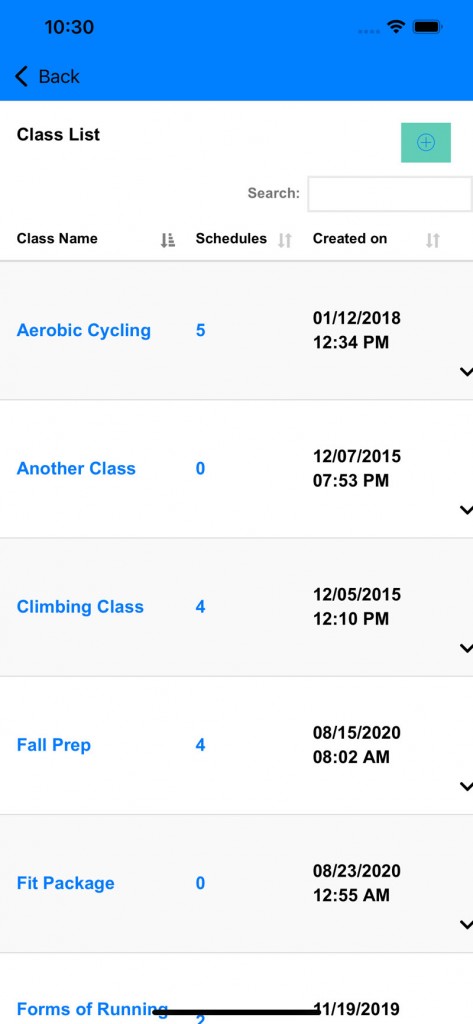
3.) A class list page will open:
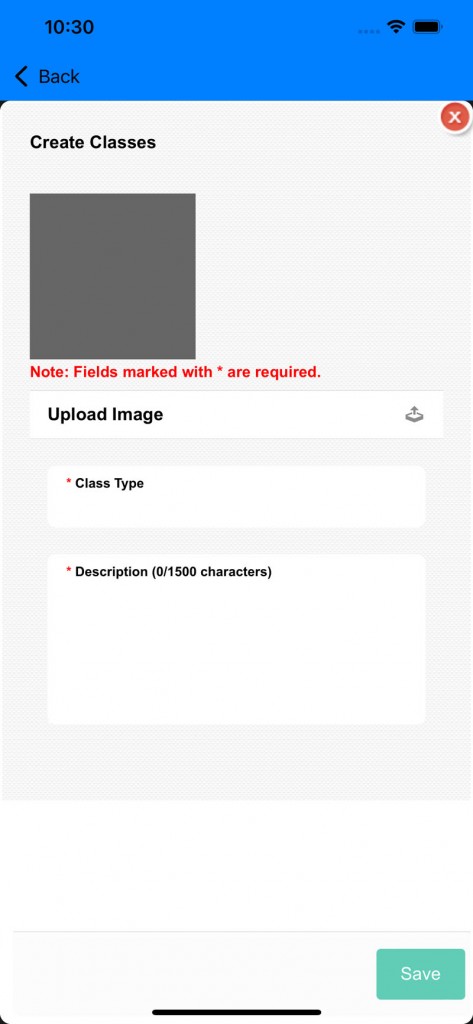
4.) Add in class info:
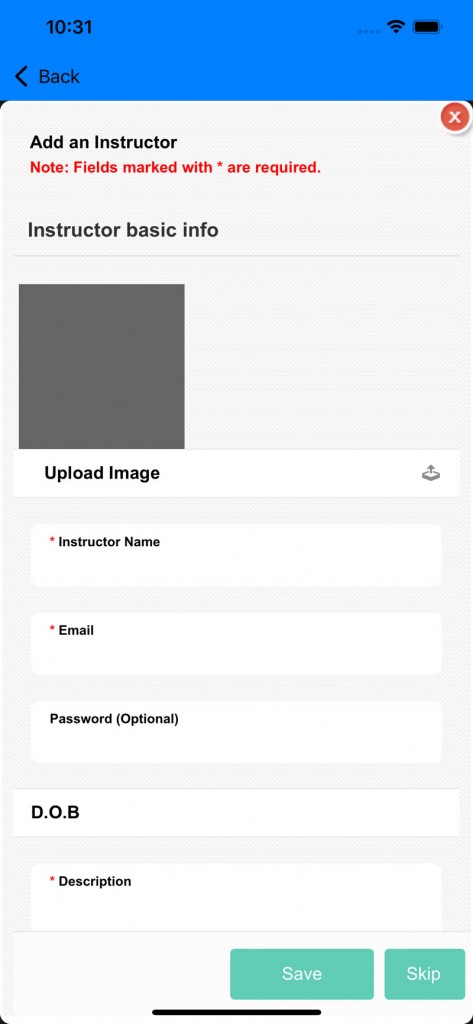
5.) Add in instructor info for class:
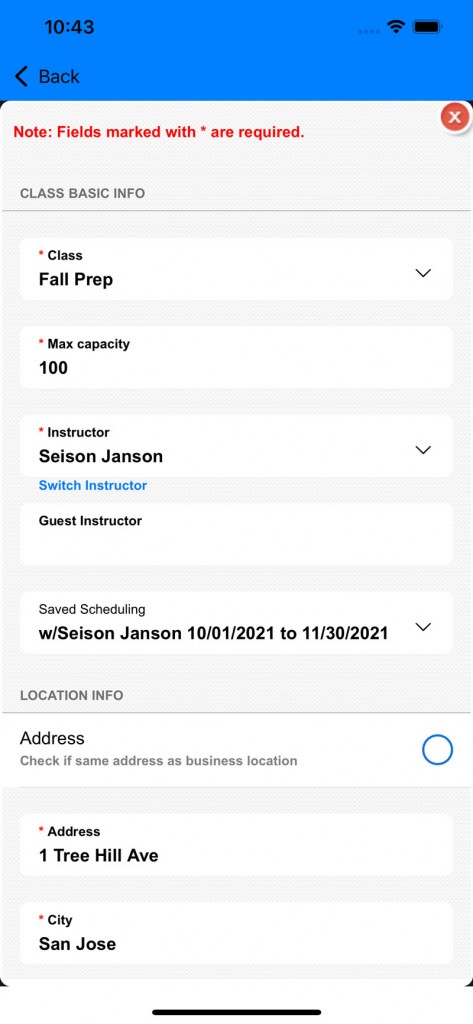
6.) Add in Schedule for class and instructor:
B.) Add Schedule:
1.) Go to your Dashboard and click on “Class Schedule”:

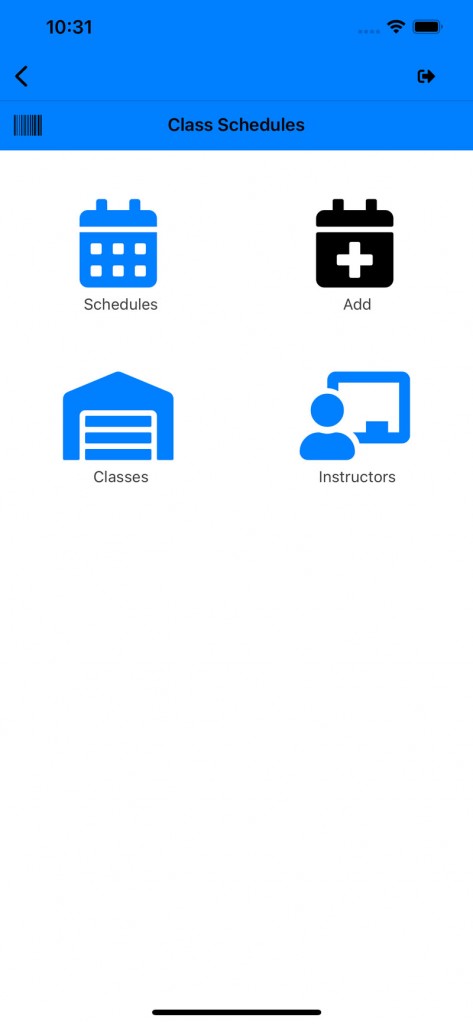
2.) Click the “Add” icon:
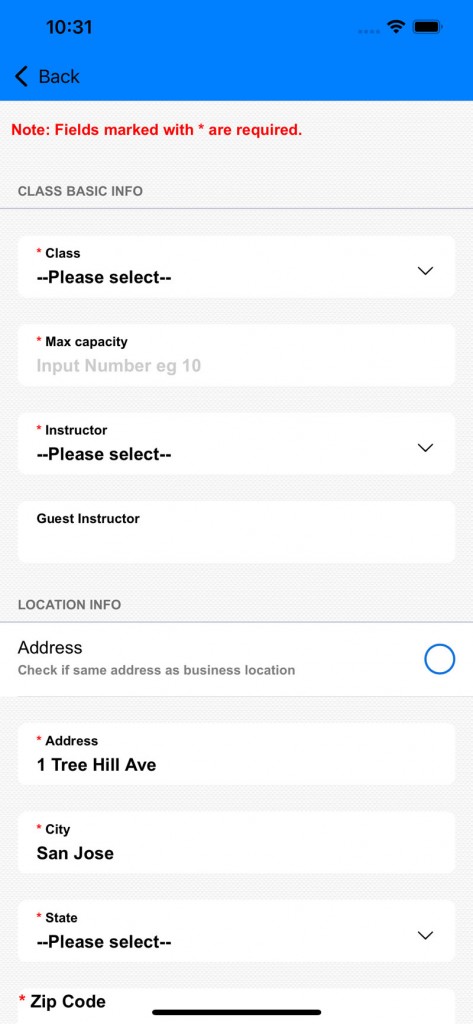
3.) Add in the schedule info:
C.) Editing a schedule:
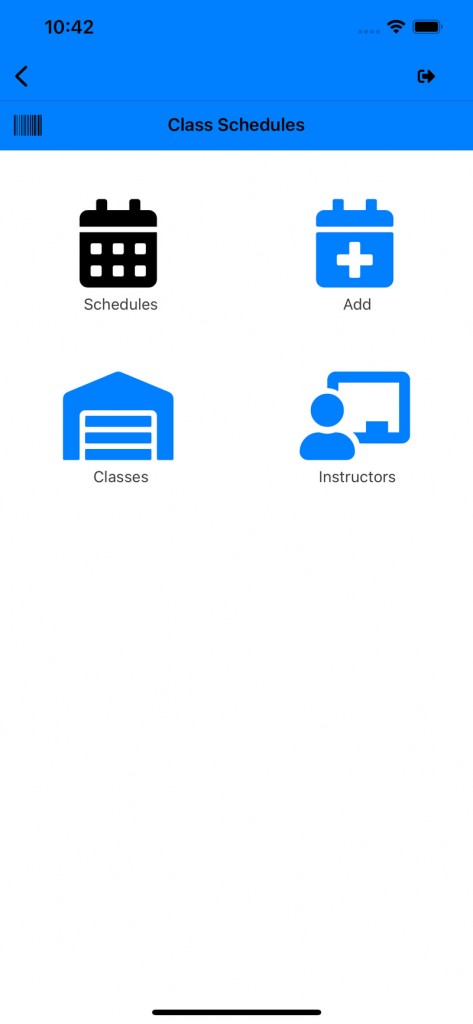
1.) Go to your Dashboard and click on “Class Schedule”:

2.) Click on the “Schedules” icon:
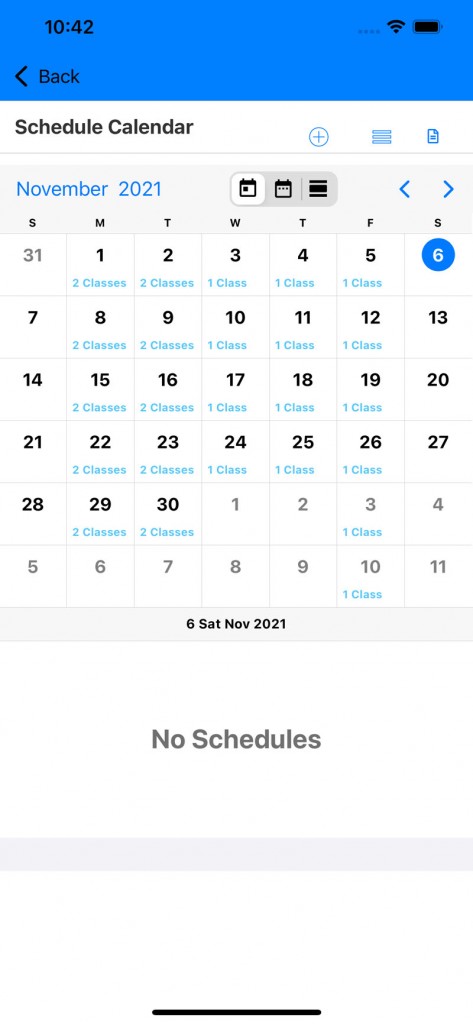
3.) Select a date from your calendar:
4.) In the schedule list for that day, select your class:
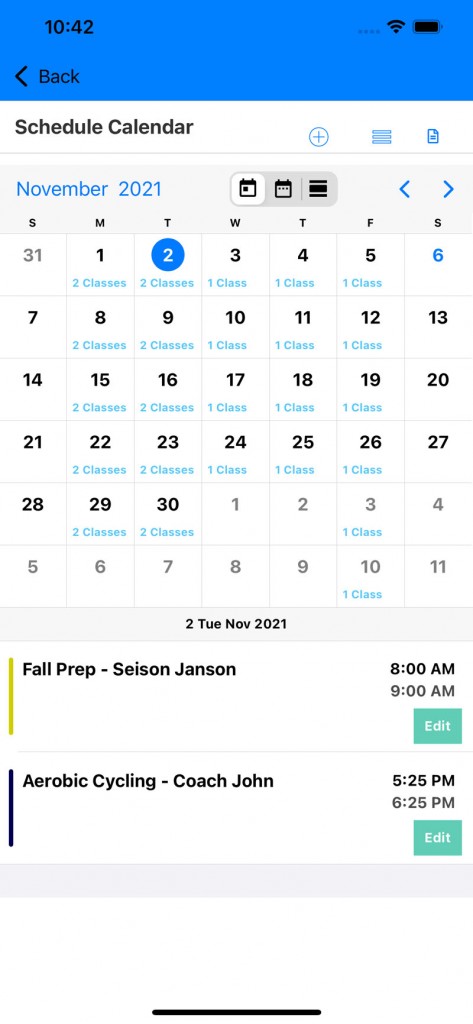
5.) Start editing your class schedule:

6.)Add in class location:
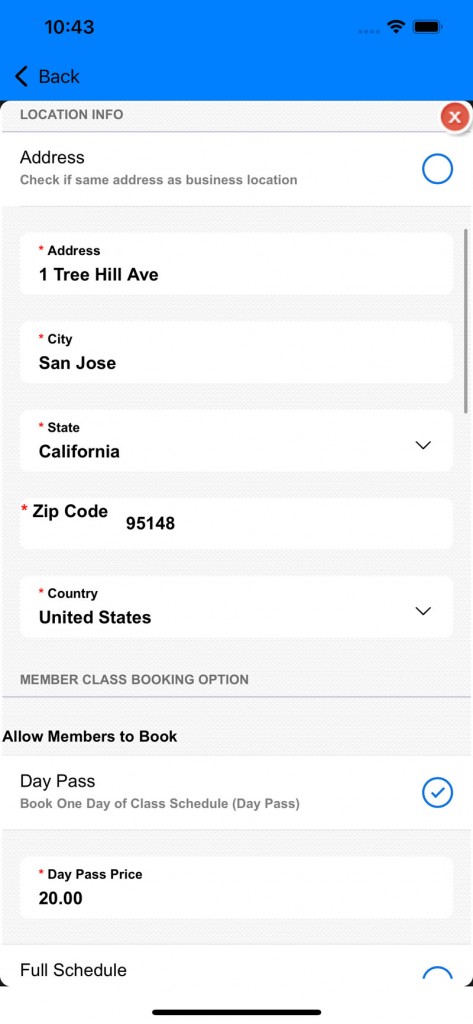
7.)Scroll to the Booking option:
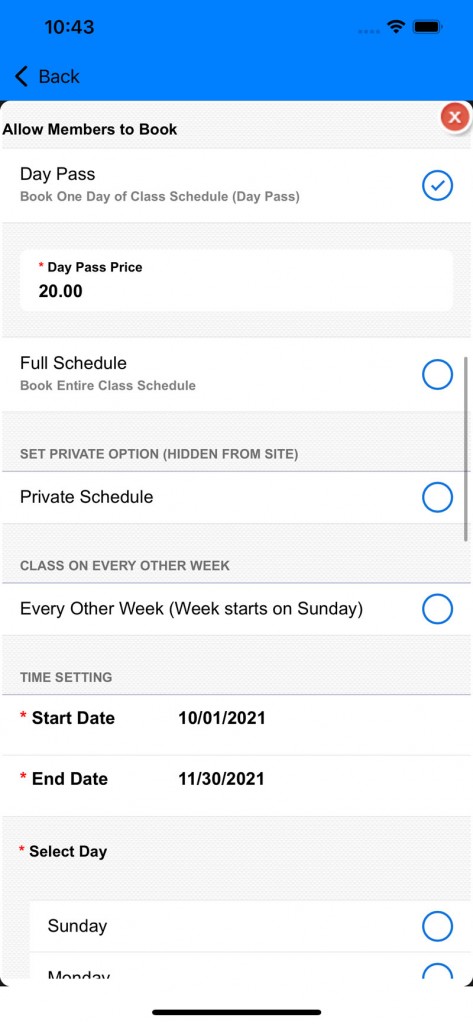
There are two two of bookings. One is the day pass booking and the other is a full schedule booking. A full scheduling booking includes the booking of all the days within that schedule.
You can have it so that a member must book the individual day of the full schedule prior attending the class.
8.) Scroll to “Blackout Dates”
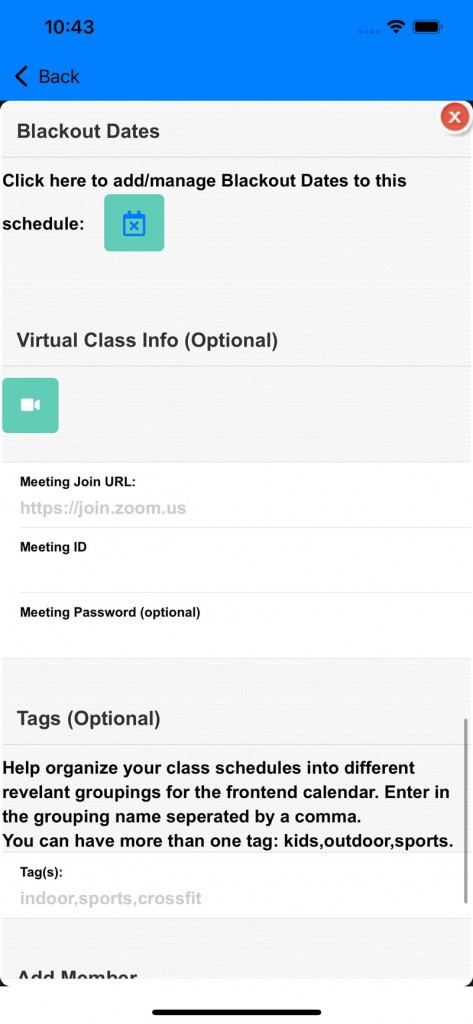
a.) Add blackdates for the schedule. These are dates that there are no classes available for this schedule or the instructor is absent for that day (vacation, sick leave, or holiday).
b.) Virtual class option is there if you wish to display the virtual class information to the member enrolled into this class.
9.) Scroll down to Tags.
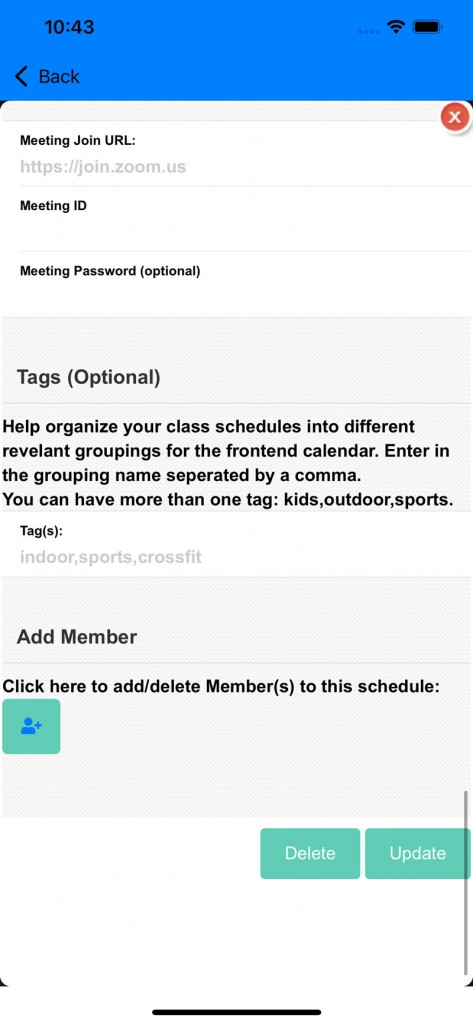
a.) You can add different tags to this schedule. With tags you can group the different types of schedules (ie Kids or Adults).
b.) Add members option. Click on this to add current members to this schedule.
*If you have any questions on technical questions you can contact support at customersuccess@fitsoft.com
